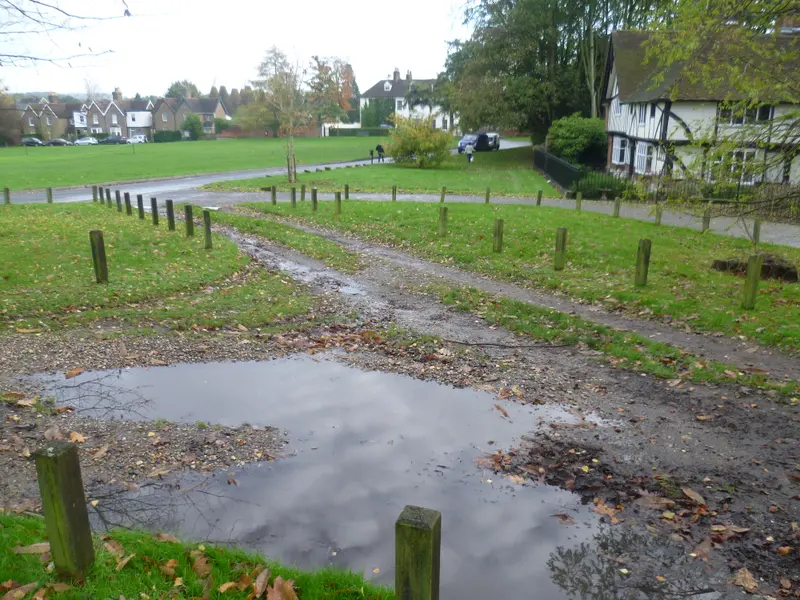
A cloudy day changes the photographs that are available; it does not remove them. Soft light can suit woodland, surfaces and small colour relationships, while a sky with moving cloud can bring structure to an open landscape. The useful first decision is whether the sky contributes to the picture or whether the subject is better found beneath it.
Around Bearsted and Thurnham, that gives you several possible approaches without needing to wait for sunset. This guide offers a way to choose among them, with simple exposure and composition checks. It is advice for looking at the conditions you encounter, not a claim that any particular viewpoint will work in every kind of weather.
Distinguish a textured sky from a blank one
Look at the sky as part of the composition rather than a default background. If it contains distinct shapes, changes in tone or a useful direction of movement, it may deserve a substantial area of the frame. If it is an even bright sheet, including half a photograph of it may add little.
Try two versions from the same permitted position: one with more sky and one with less. Compare where your eye goes first. If the sky takes attention without giving anything back, reduce it. If the cloud structure helps lead the eye towards the land, keep enough of it to explain that relationship.
Do not expect a dramatic edit to create structure that was not recorded. A featureless bright area may remain featureless after processing. It is often more effective to choose a composition that works with the available scene than to depend on a rescue later.
Look closer when the distant view feels flat
When a broad landscape lacks separation, turn to a smaller subject. Trees, water, paths and building surfaces may offer clearer relationships than distant fields under uniform light. Changing scale can be more productive than repeatedly photographing the same wide view and hoping it will become more interesting.
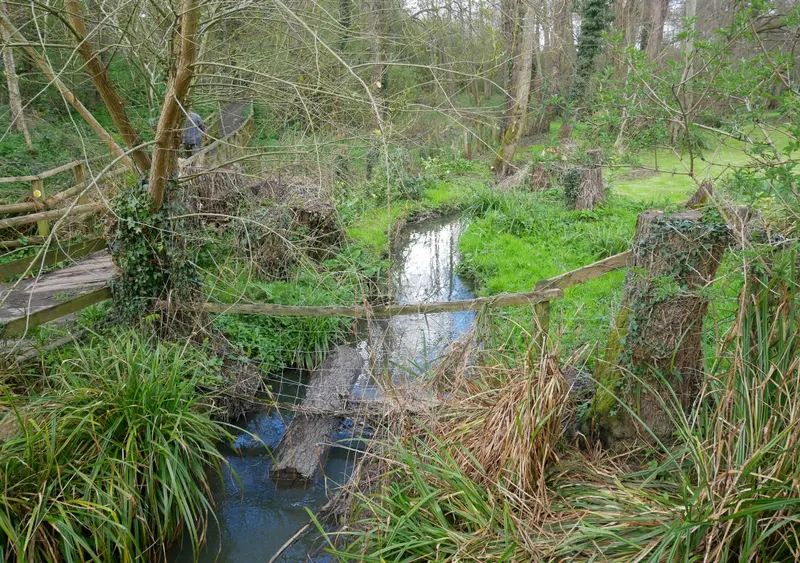
In a woodland scene, look for layers that remain distinct from one another: a lighter trunk in front of a darker area, a curve in a path or a patch of leaves with a different texture. Avoid filling the frame with equally detailed objects that all compete at the same distance.
Our woodland and water article explores this kind of smaller landscape. The principle also applies around the village, where a roof edge or a surface seen from public space can become a more useful subject than a broad sky above it.
Use colour differences with a light touch
Overcast light can make subtle colour relationships easier to notice. Instead of seeking the brightest object, compare warm and cool areas, pale and deep greens, or a muted surface beside a darker one. A restrained palette can give a photograph coherence without needing a single spectacular feature.
Check white balance before increasing saturation. An overall colour cast may be affecting how the whole scene reads. Make a small adjustment, then look at familiar elements to judge whether the result still feels credible. A neutral-looking edit is not compulsory, but the choice should be deliberate.
If several colours become indistinguishable after editing, you may have pushed them too far towards a single effect. Compare with the original file. The interest of soft-light photography often lies in small differences, so preserve those instead of replacing them with a stronger but less specific look.
Check exposure on the actual subject
A bright overcast sky can still be much lighter than the land. The absence of direct sun does not mean every part of the scene fits neatly into one exposure. Decide which details matter and inspect them in the completed photograph rather than judging only the overall brightness of the screen.
On a phone, tap the main subject and learn how to adjust exposure in the camera app. On a camera, use the preview and exposure tools you understand. There is no universal setting for a cloudy day because the subject, composition and brightness range vary.
If important detail is lost at one end of the range, consider changing the frame. Excluding a large bright sky may let the smaller scene work more clearly. You can also wait for a change in conditions if time allows, but the outing does not need to become a prolonged wait for a different photograph.
Pay attention to movement and sharpness
Under darker cloud or tree cover, the camera may use a slower exposure. Hold it steadily and review the part of the image that should be sharp. Leaves, water and people can move even when the overall landscape appears quiet, so check whether any blur supports or weakens your intention.
For a still subject, a comfortable stance and a deliberate pause can help. For moving details, you may need a different camera setting or a broader composition. Avoid assuming that every soft patch comes from poor focus; movement and limited light can produce a similar impression.
If you use a tripod, choose a position that leaves the route clear. It should support the photograph without making the place harder for other visitors to use. A short handheld study is often enough, especially when the main aim is to learn which subjects suit the light.
Make a three-picture soft-light exercise
Choose a broad setting, a layered middle-distance scene and a close texture. Give each photograph a different job. The first establishes where you are, the second explores relationships and the third records a detail you might otherwise have passed without noticing.
Keep the colour treatment broadly consistent when reviewing the set. That does not mean applying identical adjustments, because each file may need different handling. It means avoiding a situation in which one image is heavily stylised while the others are presented as straightforward records without an intentional reason.
Write one sentence about what the cloud cover contributed to each picture. Perhaps it softened a distracting shadow, made colours easier to compare or encouraged you to look away from the horizon. This reflection turns an ordinary grey day into a useful lesson you can repeat elsewhere.
Choose a print for its quiet strengths
A soft-light photograph may reveal itself gradually. Look at it at the intended viewing distance and check whether the important layers remain legible. A subtle image can be satisfying in a place where you regularly stand close, while a larger wall may call for a clearer overall arrangement.
Do not assume that a pale or low-contrast scene needs a dark frame. Compare finishes with the same crop and size so that you can judge what the boundary contributes. Our frame comparison and mount guide explain those separate choices.
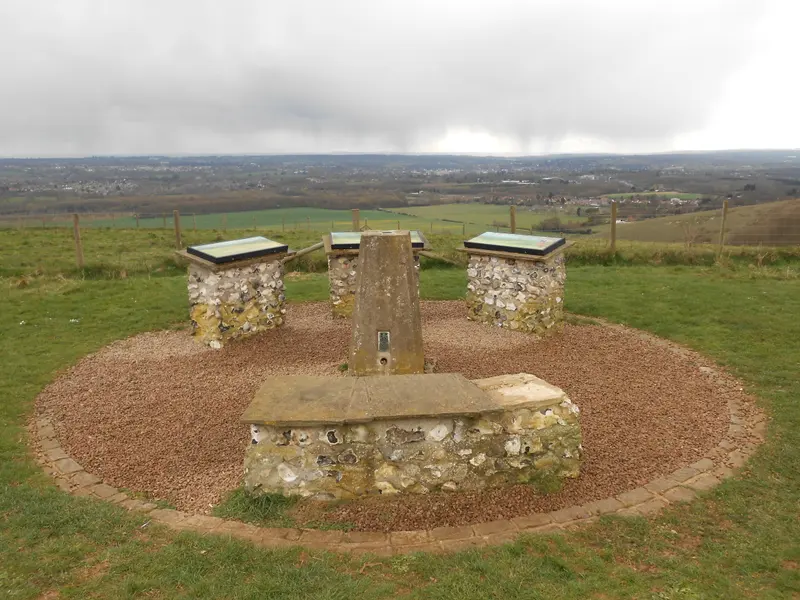
Browse the woodland collection and Thurnham views as examples of different landscape scales. For another photographer's approach to patient observation, Nikon's guide to slowing down in landscape photography is useful further reading. The exercise here remains simple: choose the light you have, find a subject it explains and make the composition clear.
A place for your wall.
Explore the collection, then choose a size and finish at your own pace.