A phone is enough to begin making considered landscape photographs. The biggest improvements often come from deciding what the picture is about, choosing a useful viewpoint and checking the result before moving on. Buying a different device is rarely the first question to answer when a local view does not look as clear in a photograph as it did in front of you.
Use this guide on a short visit around Bearsted or Thurnham, or anywhere you can stop comfortably and look. The controls vary between phones, so the advice describes the decisions rather than a sequence of buttons. Consult your device's camera guidance when you need the exact setting.
Clean the lens and choose the main subject
A phone spends much of its life in a pocket or bag, and a marked lens can make light appear hazy. Check it before taking the photograph and clean it using a method appropriate to the device. This simple preparation is more useful than trying to repair a smear through heavy contrast later.
Next, say what you want the photograph to show. It might be a tree separated from the horizon, a path through the Green or light across an open field. If the answer is simply “the view”, look a little longer. Choosing a relationship within the view gives the composition a purpose.
Remove things through framing before adding effects. A step to one side, a lower camera position from a stable stance or a little less sky may clarify the subject. Keep to suitable public positions; a technically better angle is not worth entering a road or private space.
Start with the ordinary camera view
Begin with the main camera view rather than immediately choosing the widest option. An ultra-wide view can be useful when nearby foreground is important, but it can also make the distant subject look small. If the photograph feels empty, including even more may make the problem worse.
Be cautious about strong digital zoom. Enlarging a small part of an image can leave less detail for a later print. The exact behaviour depends on the phone and selected camera, so compare the files rather than relying only on the zoom label shown on the screen.
Try one photograph at the normal view and another with a modestly tighter composition. Review them without assuming the version that fills the screen most dramatically is best. Look for useful detail, clear edges and a composition that does not depend on excessive enlargement.
Put the horizon where it helps
A tilted horizon can distract from an otherwise calm landscape. Use the grid or level if your phone offers one, and check the actual landform rather than assuming every visible line should be horizontal. A hillside can slope naturally even when the camera is level.
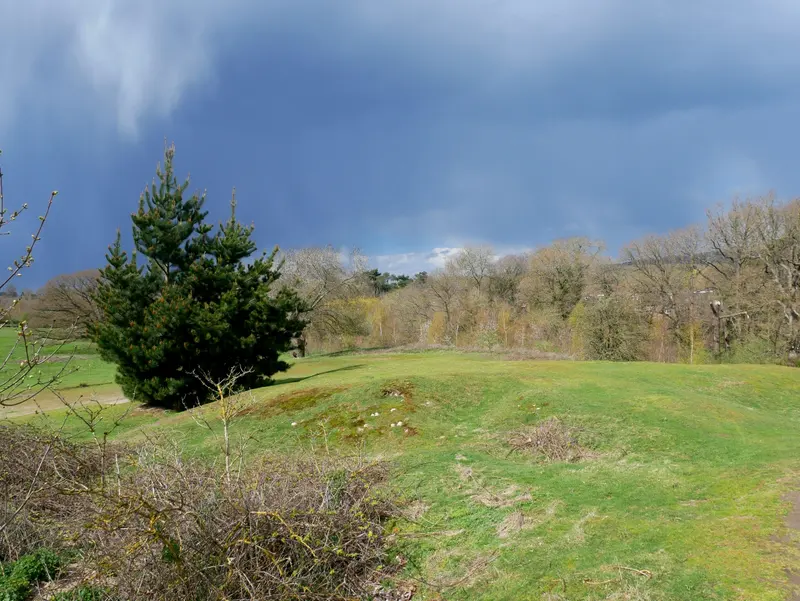
Decide how much sky belongs in the picture. If cloud shapes contribute to the scene, give them room. If the sky is an empty bright patch, reduce it and concentrate on the land. There is no requirement to place the horizon at the same height in every landscape photograph.
Leave a small amount of extra space if you expect to straighten the image afterwards, because correction can crop the edges. Do not rely on that spare space to fix an unclear composition. It is a practical allowance around a picture you have already considered.
Check focus and brightness separately
Tap the important part of the scene to establish focus where your phone allows it. Then look at brightness. Some camera apps link those actions initially but let you adjust exposure afterwards. Learn how your own app behaves so you can make a deliberate change instead of repeatedly tapping different areas at random.
In a scene with bright sky and darker land, decide which details matter most. If the main subject disappears into shadow, a perfectly described cloud is not enough. Try another composition or wait for different light if that fits the outing. Automatic processing helps in some conditions but does not remove every contrast problem.
Review a completed photograph, not only the live preview. Phones may process the final image differently. Zoom in briefly to check that the important detail is sharp, then return to the full view to judge whether the picture still works as a whole.
Hold still without making the visit cumbersome
Use a stable stance, hold the phone with both hands when practical and pause before taking the photograph. In lower light, movement can soften details even when the screen image looks acceptable. If the first result is blurred, take another while you are still at the scene.
Avoid taking photographs while walking. Stop somewhere that leaves room for other people, make the picture and then continue. This small separation between walking and photographing gives you more attention for both activities.
If you use a support, make sure it is suitable and does not obstruct the path. You do not need to carry a tripod for every local outing. Start with simple handheld photographs and add equipment only when a particular limitation repeatedly prevents a picture you want to make.
Edit one problem at a time
Begin with the crop and straightening, then adjust brightness and colour gently. Check whether the image needs a change before moving a control. A familiar sequence of automatic edits can make very different photographs look equally heavy even when they began with different qualities.
Watch for halos around trees or an unnaturally bright sky after strong processing. These effects can be less obvious on a small screen than in a print. Compare with the original and reduce the adjustment if it draws attention away from the landscape.
Save an original and an edited version. Use a useful filename or note so that you can identify the chosen crop later. If you make several versions for different shapes, keep them clearly separate rather than overwriting the only full-resolution source.
Prepare the file before asking about a print
Use the original image file, not a screenshot or a copy saved from a messaging preview. Sharing services can reduce resolution, and a screenshot records the screen rather than preserving the photograph's full detail. Check how to export the original from your particular photo library.
The possible print size depends on the source file, crop, sharpness and expected viewing distance. A phone model or megapixel number alone cannot settle it. Ask the printer to assess the actual file at the intended dimensions before assuming it will work as a large print.
Bearsted Gallery currently focuses on its own developing collection rather than advertising a service for printing customer uploads. For understanding presentation, our print-size guide and picture-mount guide are useful regardless of who supplies your print. The local photographs also offer examples of how a clear crop and simple frame can support an ordinary view.
A place for your wall.
Explore the collection, then choose a size and finish at your own pace.