Choosing a photograph is only part of the experience. Once it is framed, the room becomes part of the way you see it. Light changes across the day, nearby objects create relationships, and your usual viewing position determines which details you notice. A little thought about placement can help the picture feel at home from the beginning.
This guide is a set of planning questions, not a substitute for the instructions supplied with a finished print and frame. The Bearsted Gallery preview does not yet specify paper, ink, glazing, backing or hanging hardware. Those materials affect appropriate handling and care. Before accepting an order, the gallery needs a confirmed product specification and clear instructions from the relevant suppliers.
Notice the room at different times
A wall that looks evenly lit in the morning may receive direct sun later in the day. Reflections may change when a lamp is switched on, or when you sit in a different position. Look at the proposed location under the conditions in which you will actually spend time with the photograph, not only during the moment you are measuring.
This helps you assess visibility as well as the questions to ask about materials. If bright light falls directly across the picture, confirm what the supplier recommends for the actual print and glazing. Do not assume that a term such as protective glass makes every location suitable or guarantees that colours will remain unchanged indefinitely.
You can learn a surprising amount by holding a temporary outline in place and moving around the room. The outline will not show reflections, but it will reveal sightlines and nearby obstructions. Once the finished frame is available, check its appearance in the intended position before treating the initial plan as final.
Choose a position you will enjoy
A photograph can be a focal point or a quieter companion. A position opposite a sofa encourages repeated looking from a distance. A wall beside a chair may invite closer attention. A hallway offers a brief encounter while moving through the house. None is inherently better; each suits different compositions and levels of detail.
Think about the whole route through the room. A frame might look balanced from directly in front but disappear behind a plant when seen from the doorway. A picture placed close to an opening may feel compressed even when the dimensions technically fit. Moving it a small distance can sometimes solve a problem that a different frame size would not.
There is no single hanging height that works for every person, room and arrangement. Start with the positions from which you will look at the picture, then compare the relationship to furniture and other objects. A measured plan is helpful, but the final decision should respond to the actual space rather than an isolated rule.
Give reflections some attention
Glazing can affect the viewing experience as much as the frame finish. A bright window or lamp may appear in the surface from one angle and disappear from another. Before deciding that a photograph is too dark or difficult to see, consider whether the problem is the lighting relationship rather than the image itself.
The preview does not simulate a particular glazing product. A digital image of a frame cannot establish its reflection characteristics, weight or protective properties. If the location has challenging light, describe that in your enquiry and ask what options are available with the actual supplier specification.
Be precise about what matters to you. “I usually sit opposite a bright window” is more useful than a general request for the best glass. It gives the person preparing the quote a real situation to consider. Any claims about specialist glazing should come with the relevant product information rather than being inferred from an attractive mockup.
Confirm the practical hanging details
Before hanging the frame, check its weight, the supplied fittings and the type of wall. A fixing that is suitable for one surface may not be suitable for another. Follow the frame and fixing manufacturers’ instructions, and seek appropriate help if you are unsure about the wall construction, hidden services or the installation.
Do not assume that a small-looking frame is light, or that the image size determines the appropriate hardware. Glazing, frame construction and backing all contribute to the finished object. The supplier should identify what is provided and what the customer needs to arrange. These details belong in the final product information, alongside the outer dimensions.
For a group of pictures, plan the arrangement before making holes. Paper outlines can help compare spacing and alignment. Keep the practical installation separate from the visual mockup: a pleasing arrangement on screen does not confirm that the chosen wall can safely support it with any particular fixing.
Ask for care instructions for the actual object
Care advice should match the materials supplied. A frame finish, glazing surface and photographic print can require different treatment. Rather than relying on a generic cleaning method, keep the supplier’s instructions with the order information and follow them when handling or cleaning the object.
Avoid experimenting with sprays, solvents or abrasive materials on an unfamiliar surface. If a mark cannot be dealt with using the recommended method, ask the supplier before trying something stronger. A photograph that appears accessible behind glazing is still part of an assembled object; opening the frame without guidance may introduce dust, damage or mounting problems.
The same principle applies to claims about longevity. The expected behaviour of a print depends on its production method, materials and environment. The current gallery makes no archival, museum-grade or lifetime promise. A useful specification explains what is supplied and how to look after it, rather than relying on a reassuring adjective without supporting detail.
Keep the information that belongs with the print
The title, photographer, image size, frame specification and order reference are worth keeping together. They help if you later want to ask a question, match another frame or understand the provenance of the image. A local photograph may also carry a place connection that becomes more meaningful over time, so accurate naming matters.
If the picture is a gift, pass on the practical information without overwhelming the recipient. The care instructions and dimensions are useful; so is a short note explaining why you chose the scene. Keep that personal story distinct from the factual caption so the photograph’s history remains clear.
Return to the room once the picture has been in place for a while. You may discover that a nearby object distracts from it, or that a slightly different position improves the view. Living with a photograph is an ongoing relationship. The aim is not to freeze the first arrangement, but to give the image a place where you can continue to enjoy it.
Before you make an enquiry
Gather the wall measurements, a description of the room’s light and any important installation constraints. You do not need to solve every detail yourself. The enquiry journey is designed to collect your preferred photograph, size and finish first, with space for questions afterwards.
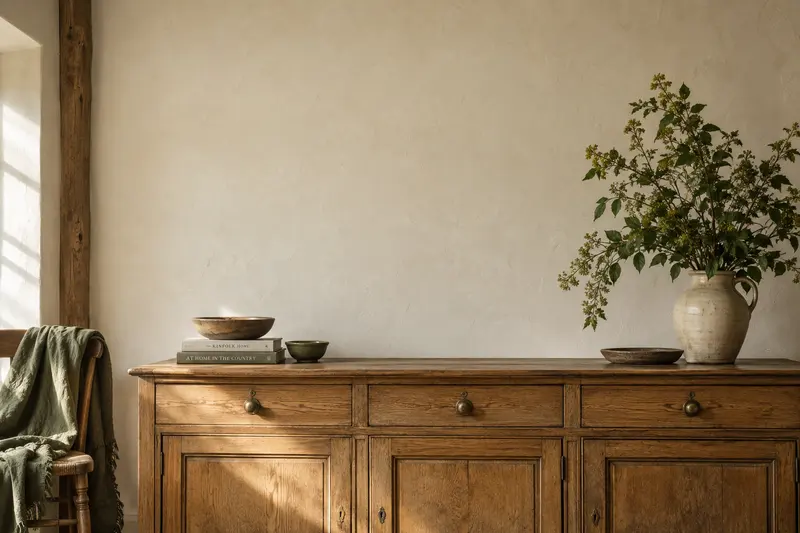
Use the instructions supplied with the actual frame and print for handling, installation and care; this article helps you identify the questions to ask. The room illustration is generated and not a real installation or a scale reference. Visit framing and sizes for provisional dimensions, and the image credits page for the sources used in the preview. If you are arranging several pictures, use our gallery-wall planning guide.

A place for your wall.
Explore the collection, then choose a size and finish at your own pace.