When choosing wall art above a sofa, begin with the space and the distance from which you will see it. A photograph that looks generous on a phone can feel small across a room, while a large outer frame may contain a relatively modest image once the mount is included. Scale is a practical decision before it becomes a style decision.
There is no single width ratio that every room must follow. The sofa, wall, neighbouring furniture and photograph all influence the result. This guide gives you a way to compare options using real measurements rather than relying on a room mockup whose proportions may not match your home.
Measure the space around the sofa
Record the sofa's width, the usable wall above it and the nearby features that affect placement. A lamp, shelf, window or doorway may make the visual area different from the full wall. Include the height of the sofa back and consider how people sit and move around it.
Identify the usual viewing positions. You may see the artwork from a chair opposite, from the doorway or mostly while walking through the room. A composition with strong overall shapes can read differently from a detailed photograph at those distances.
Take a straightforward photograph of the wall for your own reference, keeping the camera as level as practical. It can help you remember the setting while comparing prints, but do not treat the screen image as an exact scale plan unless you deliberately measure and construct it that way.
Compare a single picture with a group
One landscape print can create a clear focus, especially when the image contains a strong horizon or route through the scene. A group can offer more personal connections and variety, but it also introduces gaps, alignment and several competing compositions.
Ask whether you want one view to hold attention or a small sequence to invite closer looking. The answer may come from the pictures you already love. Do not force a single photograph into an unsuitable size simply because you initially imagined one large frame.
If you are considering several images, use the gallery-wall planning guide alongside this article. A group should be measured as a complete arrangement, including the space between frames, rather than judged by its largest picture alone.
Work with outer dimensions and a clear example
Imagine a usable wall area 190 centimetres wide above a sofa. A single hypothetical frame 92 centimetres wide leaves 98 centimetres of that area outside the frame, or 49 centimetres on each side if centred. That may feel calm or too modest depending on the image, room and surrounding objects.
Now compare two hypothetical 62-centimetre frames with an 8-centimetre gap. Their total width is 132 centimetres, leaving 29 centimetres at either side within the same usable area. This second option occupies more width, but it also creates two centres of attention. More coverage does not automatically mean a better arrangement.
These measurements are layout examples, not a promise that those exact formats are available from the gallery. Use the confirmed outer dimensions of the product you are considering. The framing page and size guide keep the distinction between image and frame clear.
Test height in the actual room
Cut paper templates to the proposed outer sizes and place them using a method suitable for the wall finish. Start with a position that relates comfortably to the sofa, then sit down, stand up and view it from the doorway. A number measured from the floor cannot replace those checks in your particular room.
Make sure the position works for the people using the sofa. Consider head movement, cushions and any practical reason someone might reach behind it. Visual balance is only one part of placement, and a picture should not make an ordinary seat awkward to use.
Leave the templates in place long enough to see the room at different times. If you keep wanting to shift the whole arrangement, make that change before deciding on small details such as the gap between two frames. The larger relationship usually matters more.
Choose a photograph that reads at a distance
Look at the image as a set of broad shapes first. Can you follow the composition without needing to inspect tiny details? A wide Thurnham landscape may offer a clear horizon and layers of land, while a village scene may depend on the arrangement of buildings and open space.
Detailed images can still work above a sofa, but ask whether you will have opportunities to approach them. If the furniture prevents close viewing, some of the detail that attracted you may rarely be seen. A different wall might serve that photograph better.
Compare the Thurnham collection with the Bearsted views, keeping the intended scale in mind. The useful choice is the image that remains satisfying in your room, not the one that appears most dramatic as a small catalogue thumbnail.
Check colour, frame and reflections together
Once the scale and image feel plausible, compare frame finishes. A warm wood tone may relate to furniture; black may provide a clear outline; a pale finish may make the border feel lighter. Keep the photograph and size unchanged while assessing that difference.
Look at light falling on the intended wall at the times you use the room. Reflections can affect how easily the picture is seen. Ask about the actual glazing and its care instructions before relying on a generic description such as low reflection or protective.
Do not expect the frame to match every material in the room. A clear relationship with one or two nearby elements is often enough. If a precise colour match matters, request information about the physical finish; a digital preview is useful for direction but cannot establish an exact match.
Confirm the object before arranging installation
Before ordering, keep a short note of the artwork, crop, visible image size, outer frame dimensions and finish. Confirm the final materials, weight and supplied hanging arrangement. Those details determine the physical object that will occupy the space you have tested.
Use fixings appropriate to the actual wall and frame, following the relevant instructions or seeking specific installation advice. A paper template is a visual tool, not a load test. Avoid assuming an adhesive product or existing hook is suitable merely because another picture used it previously.
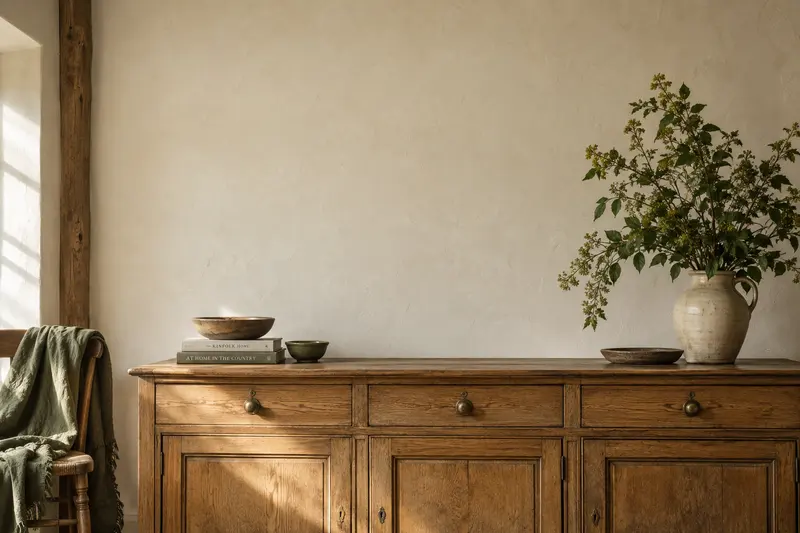
The gallery's enquiry process lets you bring the visual choice together before agreeing a finished specification. Start with choosing a size when you are ready, or keep comparing images until one feels right. The room illustration on this page is clearly illustrative and should not replace the measurements and checks in your own home.
A place for your wall.
Explore the collection, then choose a size and finish at your own pace.