A narrow hallway can be a good place for a photograph that rewards a close look. People may pass it many times a day, seeing a detail or remembering a place without stopping for long. The challenge is to make the picture feel considered while keeping the space comfortable to move through.
Start with how the hallway works rather than assuming it needs a small picture or a row of portrait frames. Doors, coats, furniture, light and the angle of approach all affect the available space. A practical check of those elements will narrow the choices more usefully than a general rule about decorating hallways.
Map the part of the wall you can actually use
Measure the clear wall area and note switches, controls, door frames and anything people regularly reach for. Open nearby doors fully and consider the path of handles. A space that looks empty in a photograph may be occupied whenever someone enters the room.
Look at the depth of any proposed frame as well as its width and height. In a confined space, a projecting object may matter more than its overall area. Confirm the actual profile and hanging arrangement rather than judging only a front-facing preview.
Watch ordinary movement for a day. Bags, coats and the way people turn through a doorway may reveal where a picture would be vulnerable or awkward. The aim is a position that lets the artwork become part of the home without requiring everybody to move around it carefully.
Choose between an end view and a side view
A picture at the end of a hallway is often seen from farther away and more directly. A picture along a side wall may be viewed close up and at an angle. Those positions call for different compositional strengths even if the available frame size is similar.
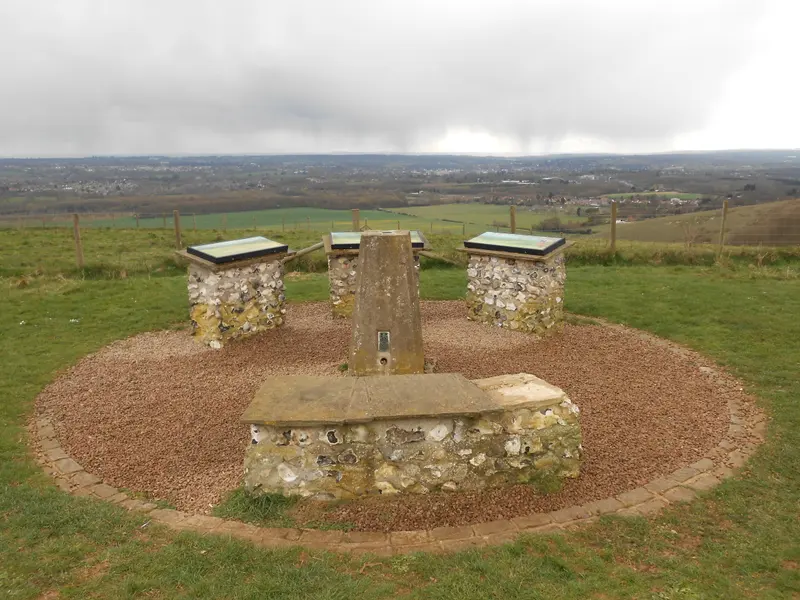
For an end view, look for a clear overall arrangement: a strong path, horizon or architectural shape. For a side wall, a quieter detail may reward the brief close attention it receives. This is a useful way to choose between a wide landscape and a smaller woodland or building study.
If you already have a favourite photograph, test where its important features remain visible. Do not force it into the first empty rectangle you find. The right position may matter more than a change of frame finish.
Let the image determine the orientation
Portrait frames can suit a vertical strip of wall, but the photograph still needs to work in that crop. A landscape with important details at both edges may lose its meaning when squeezed into a tall format. The wall's shape does not automatically justify changing the picture's composition.
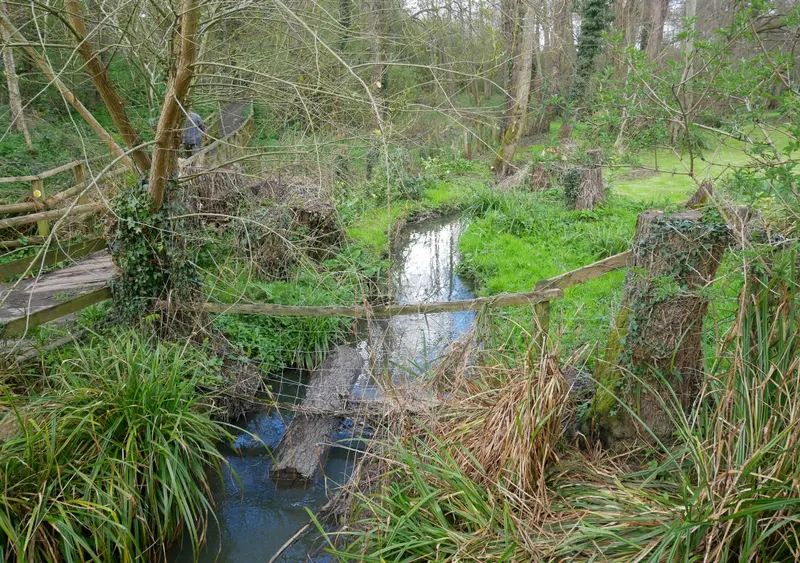
Compare available crops before choosing. A stream or group of trees may support a portrait interpretation, while a broad village view may need width. Our shape guide shows how changing the boundary changes what remains in the image.
If the photograph only works horizontally, consider another position or a smaller landscape frame rather than forcing a portrait version. A modest picture with an intact composition can be more satisfying than a larger one whose most important relationship has been cropped away.
Test one frame before planning a sequence
Start with a paper template of one proposed outer frame size. Place it using a method appropriate to the wall surface and view it while moving through the hallway normally. Check it from both directions, with doors open and closed, rather than only from the most flattering angle.
If you want a row, add the remaining templates and measure the whole group. For example, three hypothetical frames 32 centimetres wide with two 7-centimetre gaps occupy 110 centimetres in total. Compare that span with the genuinely usable wall, leaving space for nearby fittings and edges.
The numbers are an example, not a recommended product size or universal spacing rule. Your frame dimensions and hallway may call for a different arrangement. The gallery-wall guide explains how to make a measured layout before committing to several pictures.
Create a rhythm that makes sense while walking
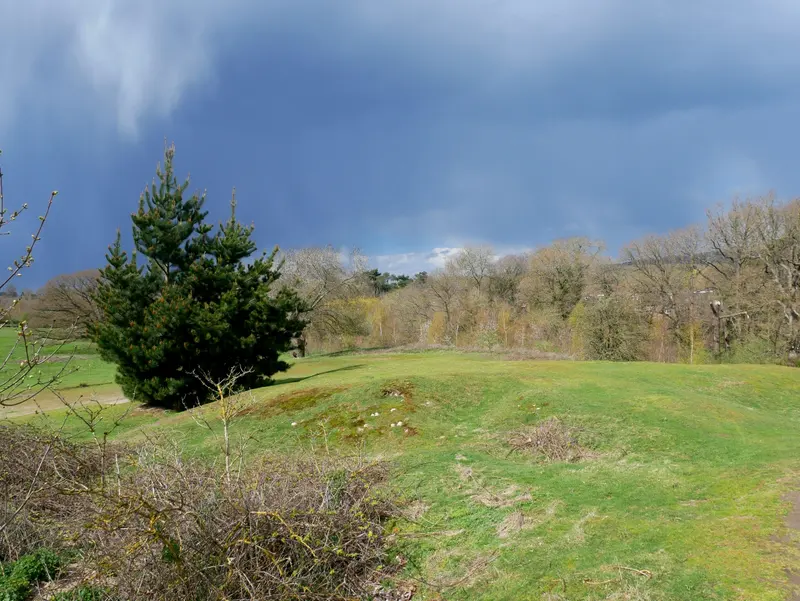
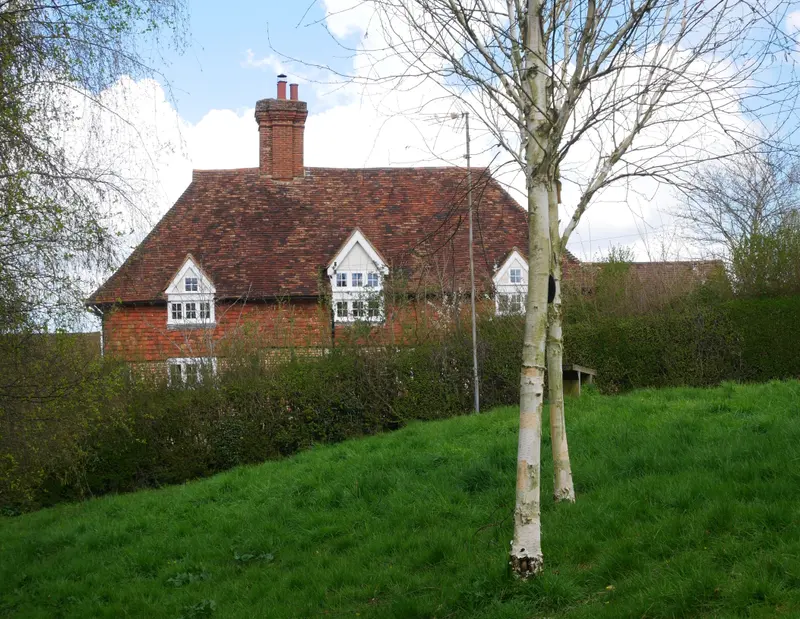
A hallway sequence is often experienced one picture at a time. Choose images that work individually as well as together. A village view, a closer building study and a woodland detail might create a gentle progression from open space to smaller observations.
Keep at least one visual element consistent, such as mount colour, frame finish or a shared alignment. This gives the sequence structure when seen at an angle. The photographs can then vary without making the wall feel like several unrelated decisions.
Avoid filling every gap merely because another picture fits. A pause between groups or a clear section of wall can make the chosen images easier to notice. The hallway still needs to function as a route through the house, and visual breathing space can support that use.
Check the light you actually have
Hallway lighting can differ considerably between day and evening. A photograph that reads well near a doorway in daylight may become difficult to see under the usual ceiling light. Test the intended position at the times the space is most often used.
Look for reflections from doors, windows and lamps. Changing the height or position may help, but the actual glazing also matters. Ask for the confirmed specification rather than assuming all framed photographs behave the same way under artificial light.
A pale frame is not guaranteed to brighten a dark hallway, and a dark frame is not automatically too heavy. Compare the whole combination of image, mount and border. A clear tonal structure may matter more than the finish alone, particularly when the picture is seen briefly while passing.
Choose a familiar view with enough detail to revisit
A hallway can be a natural place for local photographs because they become part of daily movement. A small feature may call up a memory each time you pass. Choose the image for that connection as well as its suitability for the wall.
The Gore Cottage photograph offers a building-and-setting relationship, while the woodland collection contains more intimate landscape subjects. These are credited reference images in a developing collection, so check the artwork notes and confirm availability through enquiry.
Before arranging installation, confirm the finished weight, depth and hanging method, then use fixings appropriate to the wall. Keep a note of the chosen outer size so that future additions remain easy to compare. A successful hallway arrangement is one you can enjoy naturally while the space continues to work comfortably every day.
A place for your wall.
Explore the collection, then choose a size and finish at your own pace.