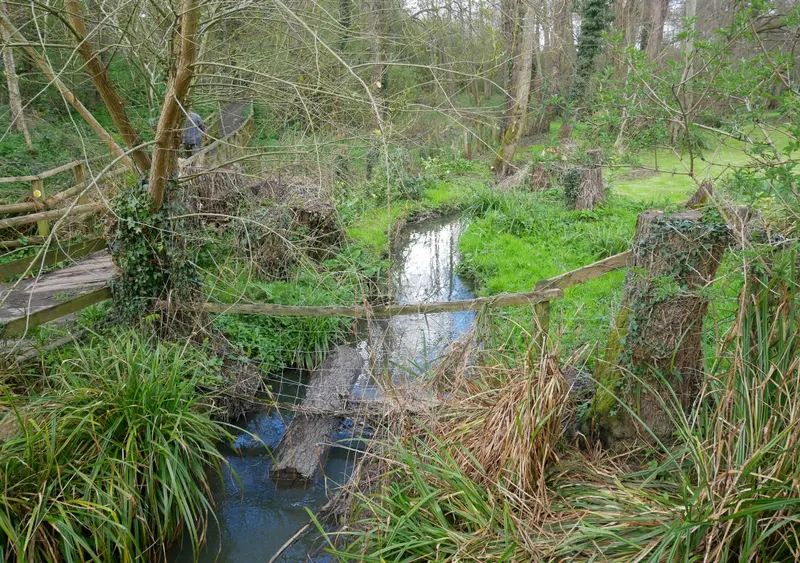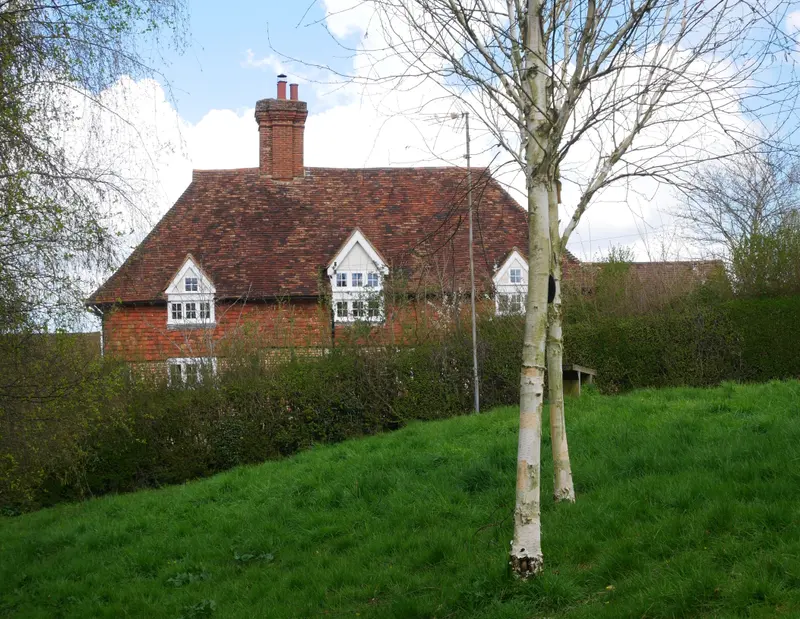
Village buildings are interesting because they belong to a setting. A house beside trees, a roofline around an open space or an entrance beside a path can tell more about a place than an isolated architectural detail. In Bearsted, start by looking at those relationships rather than treating every building as an object to fit neatly inside a rectangle.
This guide is about making clear exterior photographs from appropriate public positions. It does not establish access to private property or provide a historical survey. You can use the same method for a personal record, a small photography project or deciding which kind of architectural picture you would enjoy on a wall.
Decide whether the subject is the building or its setting
Before choosing a lens or crop, ask what attracted your attention. If it was the building's relationship with trees, removing most of the trees may weaken the picture. If it was a particular doorway or texture, a broad view might leave the subject too small to read.
Make one contextual photograph before concentrating on details. It gives you a record of the place and helps later when writing captions or arranging a series. A detail photograph can be beautiful on its own, but it is easy to forget exactly where it belonged if you made several during one visit.
For a village scene, leave enough space for routes and edges to make sense. A strip of foreground may explain how the building sits beside the public space. Cropping it away merely to make the subject larger can remove the relationship that made the view interesting.
Choose the viewpoint before correcting perspective
Look for a position from which the important parts of the building are separated and the composition feels balanced. A small sideways movement may prevent a tree from merging with a roof edge. Moving farther back may let you keep the camera more level while including the building.
Use only positions that are appropriate and permitted. Do not step into a driveway, garden or road to solve a framing problem. If the available view is partly obscured, make that part of the composition or choose a different subject. The photograph does not need to resemble an architectural elevation.
Consider whether a slight angle tells the story better than a straight-on view. An oblique composition can reveal depth and the relationship between surfaces. A frontal view can emphasise rhythm or symmetry. The choice should follow the subject rather than a rule that every building must be photographed squarely.
Understand what tilting the camera changes
Pointing a camera upwards makes vertical lines appear to converge. This can communicate height, but it can also make a modest building seem to lean awkwardly. Decide whether the effect contributes to the photograph before trying to remove it automatically.
Start with a level camera if you want a calmer record, accepting that this may include more foreground. Leave space around the edges if you plan to correct perspective later. Correction often crops the image, so a tightly framed roof or doorway may be lost when the lines are adjusted.
After editing, compare the proportions with the original. An overly stretched building can look less believable than a slightly converging one. The useful aim is a clear, credible interpretation, not perfect geometry regardless of what happens to the rest of the photograph.
Let light reveal the material
Side light can bring out the texture of a surface, while softer light may make colour relationships easier to see. Choose the lighting for the question you want the picture to answer. A dramatic shadow is not necessarily helpful if it hides the detail you set out to record.
Check bright and dark areas together. A pale wall in sun beside a deep shadow may exceed what your camera can show comfortably in one exposure. You can simplify the composition, try a different time or accept a graphic contrast if that is the intended effect.
On an overcast day, look for small variations in material and tone. Without strong shadows, edges and textures may become the main structure of the picture. Our cloudy-day photography guide develops that approach for both built and natural scenes.
Keep everyday life in mind
A picturesque building may be somebody's home or a place where people are working. Be considerate about how long you remain outside, avoid looking through windows and leave entrances clear. If a person is central to the picture you want to publish, consider whether you should ask rather than treating them as an anonymous piece of scenery.
Do not move bins, signs or other objects simply to improve a photograph. You can wait for a less obstructed moment where appropriate, change the crop or make an honest record of the present scene. Removing everyday details through editing also changes what the image claims to show.
For a personal art photograph, some interpretation may be intentional. For a documentary or historical comparison, accuracy should guide the choices. Keep the original file and describe significant alterations if the image is shared as a record of a real place.
Write captions that distinguish observation from history
Record the building name only when you have confirmed it. If you are unsure, use a general location and describe what is visible. An attractive caption becomes less useful when it confidently attaches the wrong name or history to the photograph.
For historical details, consult a reliable local or official source. Our Bearsted history article points to the parish council's introduction, and the Holy Cross guide links to the specific Historic England record. A building's appearance alone cannot establish its date or former use.
Keep a source note with the image rather than relying on memory. That is particularly helpful when the photograph moves from a personal album to a print, blog or gift. Shortened captions should preserve the distinction between a documented fact and your own response to the scene.
Choose a small set with different scales
Try a sequence of setting, building and detail. The setting explains the place, the building establishes the main form and the detail invites closer attention. Three pictures doing separate jobs can be more satisfying than a larger group of almost identical views.
When selecting one photograph for a wall, judge it at the distance you expect to view it. A fine architectural texture may suit a smaller, close-viewed position. A broader village composition may retain its shape across a room. Test the crop so that important rooflines or contextual edges are not lost.
The Gore Cottage reference photograph and Bearsted collection show different relationships between buildings and their surroundings. Creator credits remain on the site. Use them as examples to look at, then make your own decisions about which details of a familiar place deserve to become the centre of a photograph.
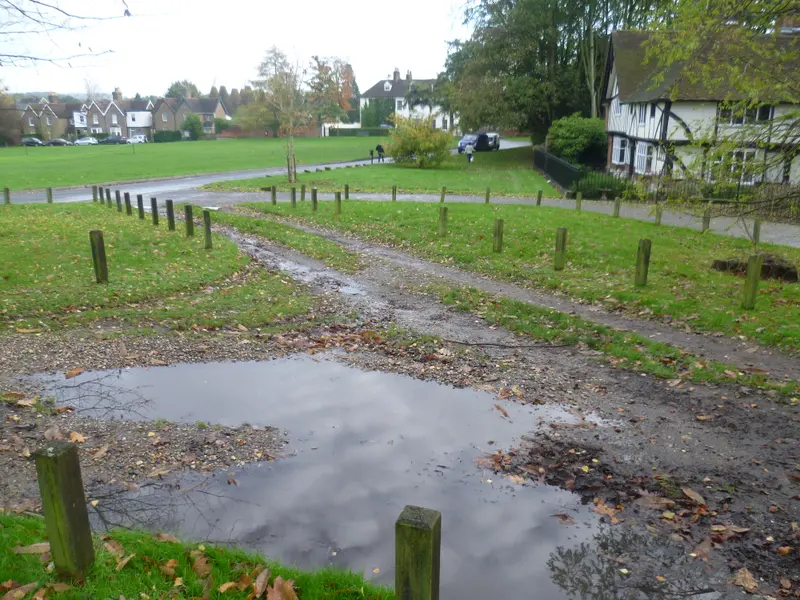
A place for your wall.
Explore the collection, then choose a size and finish at your own pace.